This fine website has been discontinued in 2022 and is now hosted as an archive. Thanks to Ciprian “Chip” for running this great collection of all things Quake for 13 years! For any inquiries regarding this archive, broken pages or links, or if you want to help fix and maintain things, sent a mail to spirit åt quaddicted ° com.
Quake Mods Repository
See the entire list of Quake 1 mods

This is a list of modifications and add-ons for Quake 1. All files have been repacked to either include the latest patch, or for better compression. Do you have a mod that’s not listed here or want to list your mod on QuakeWiki? Drop me an email.
The Gallery
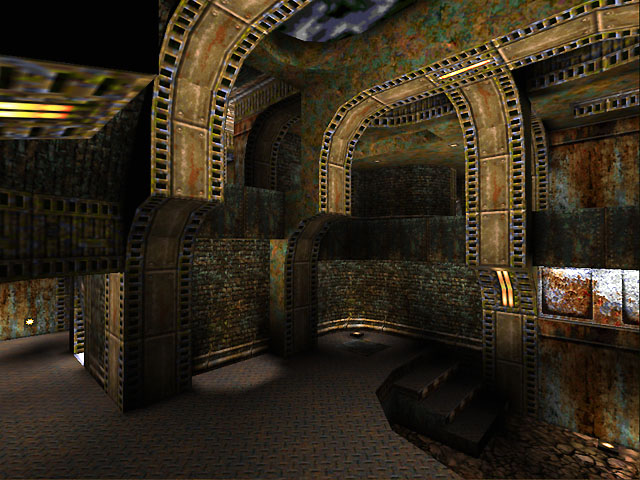
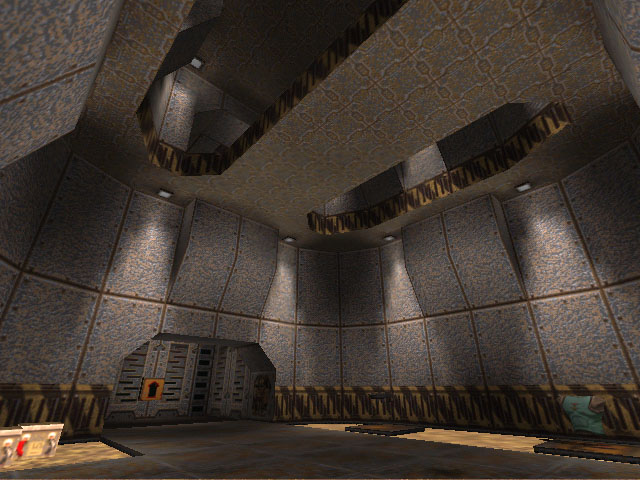
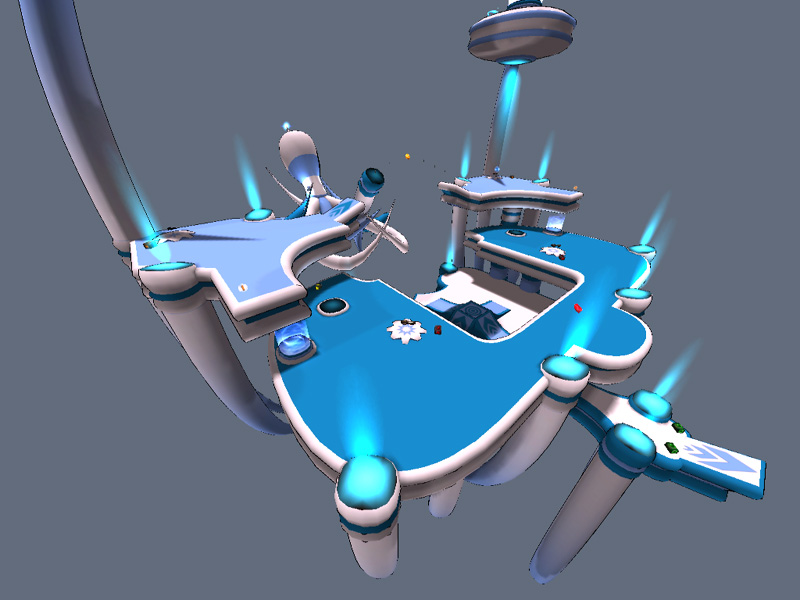
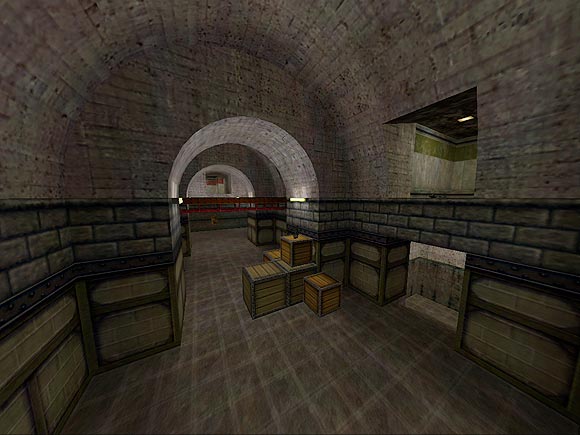
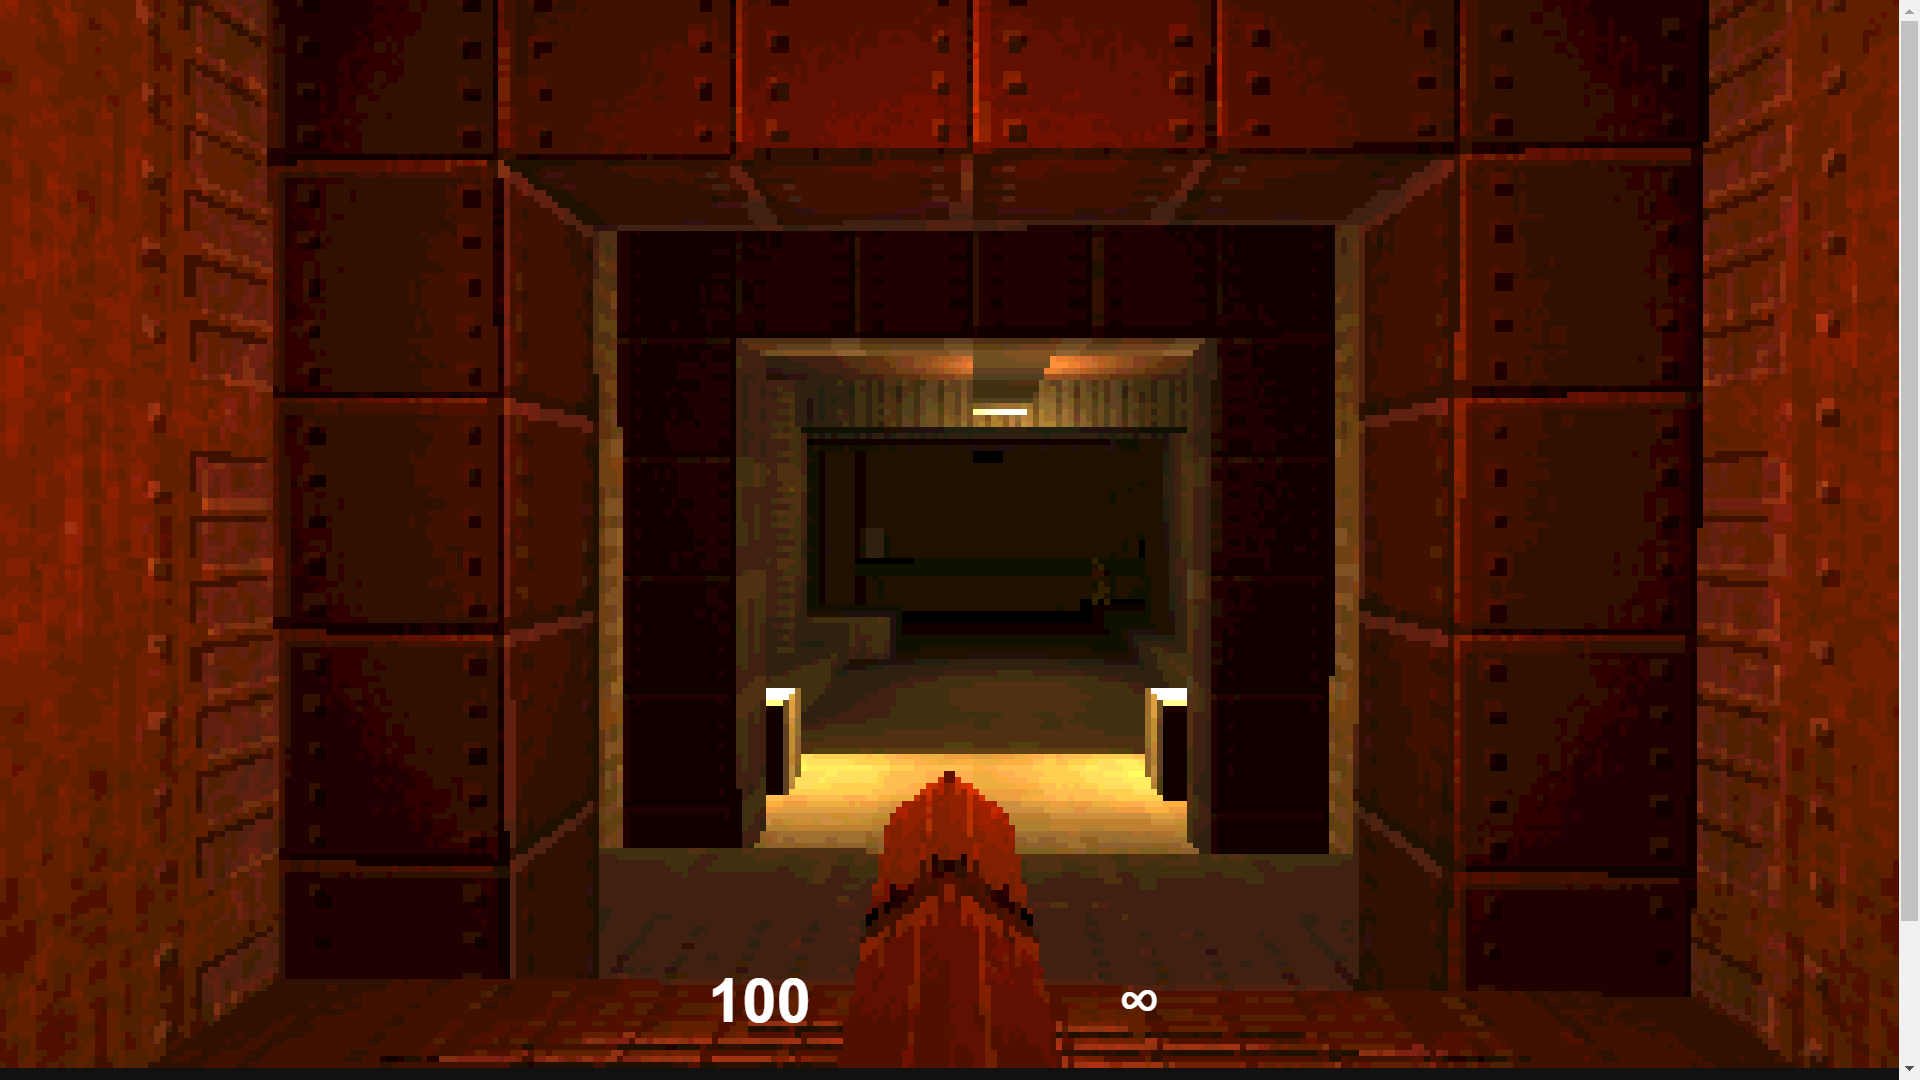
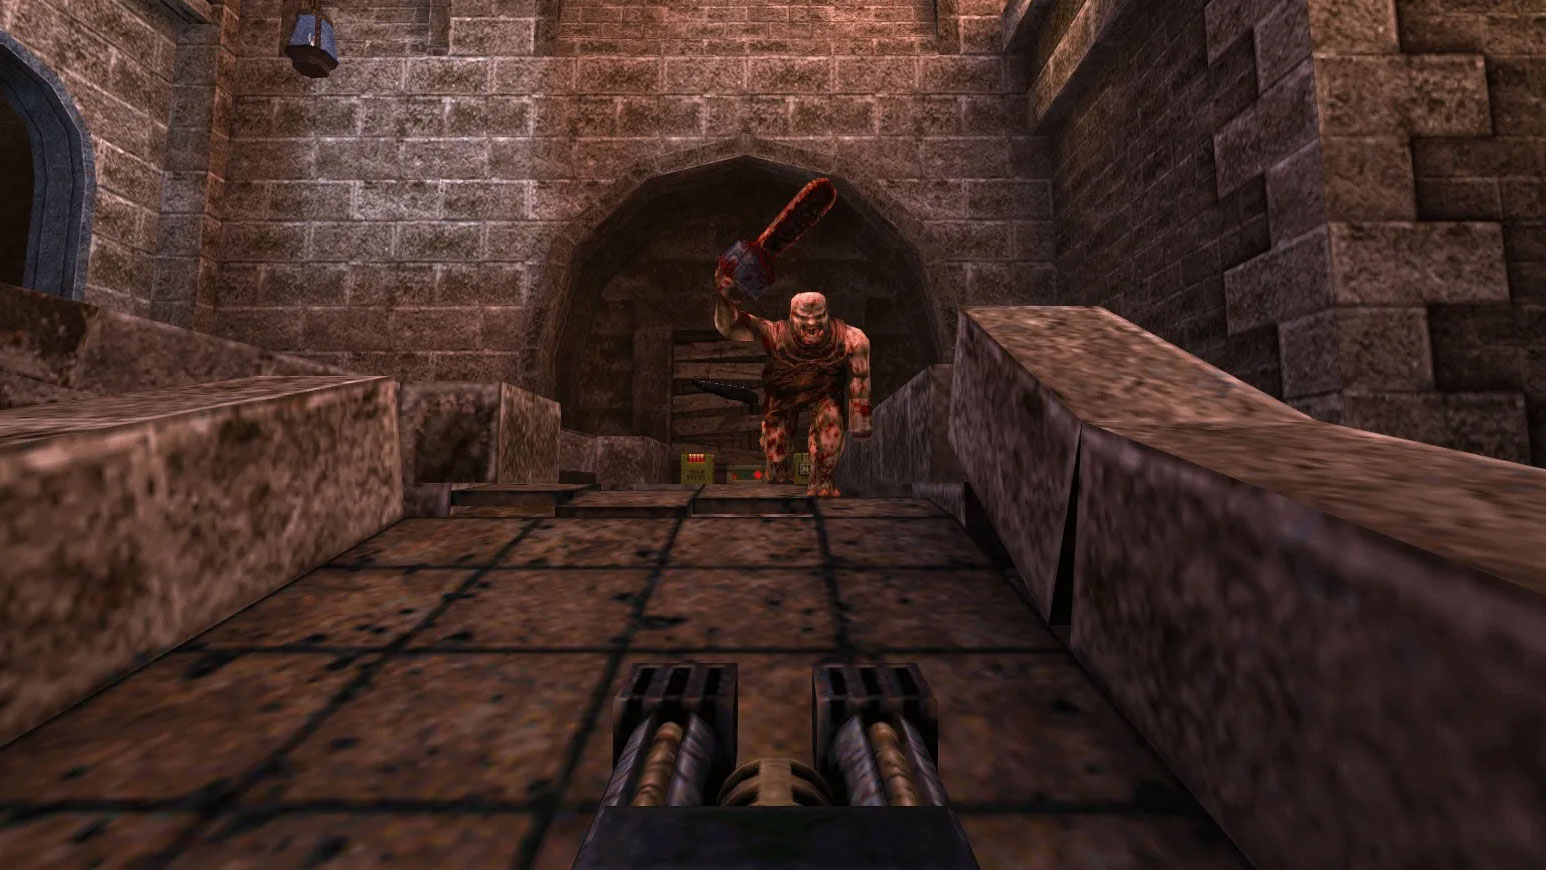
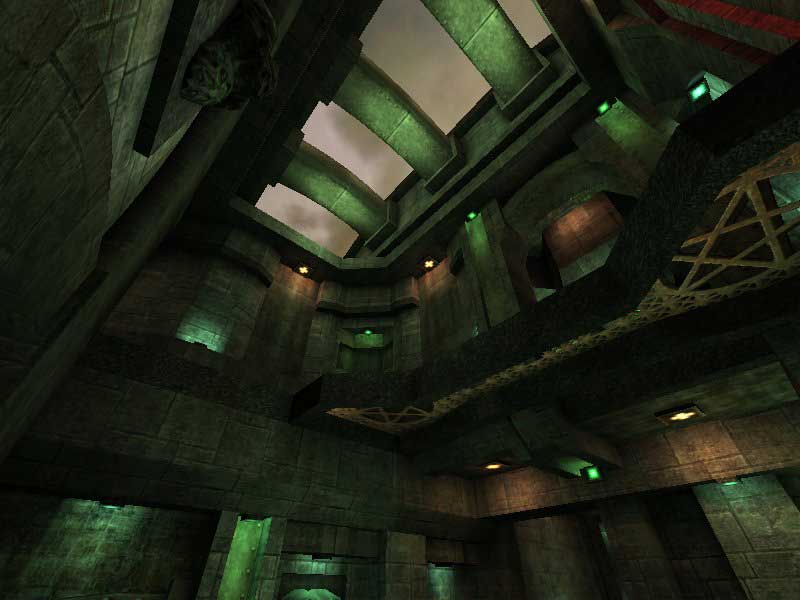
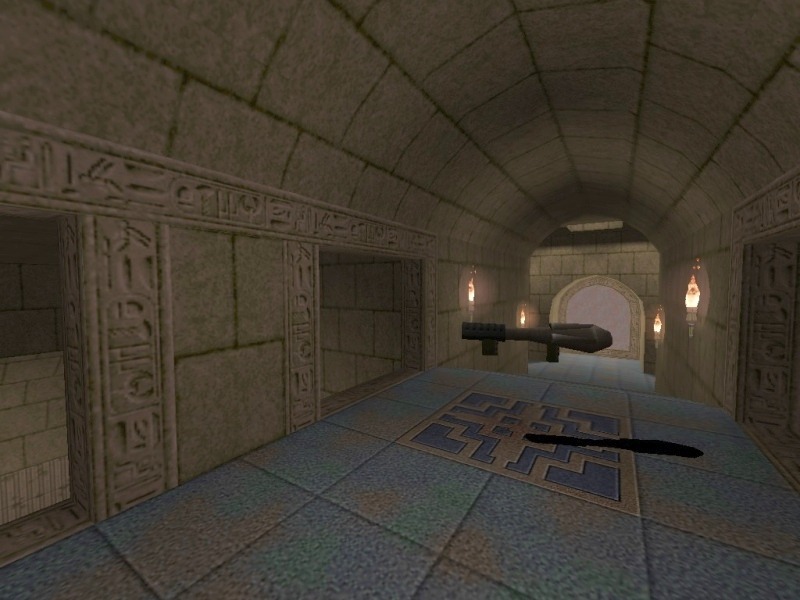
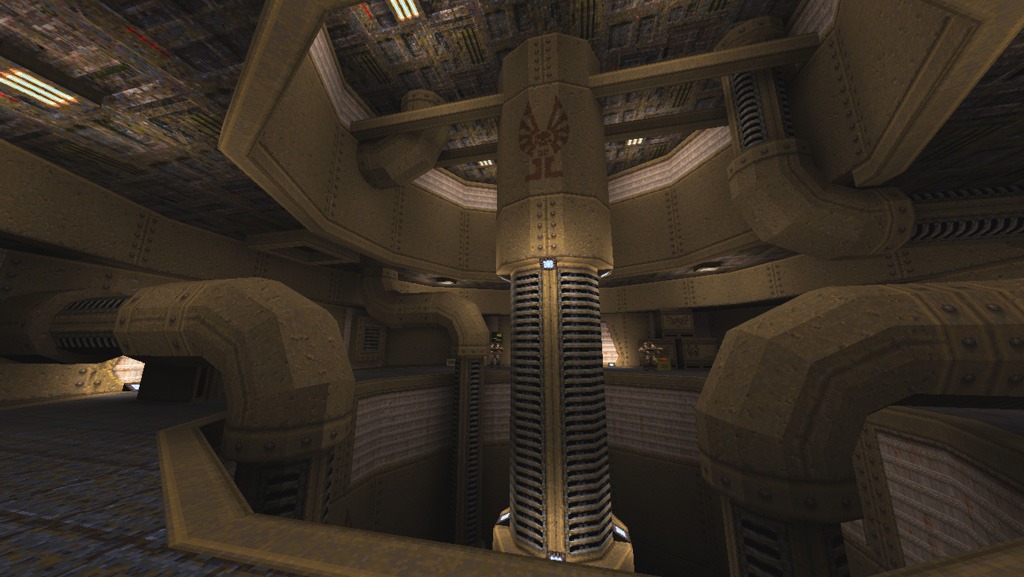
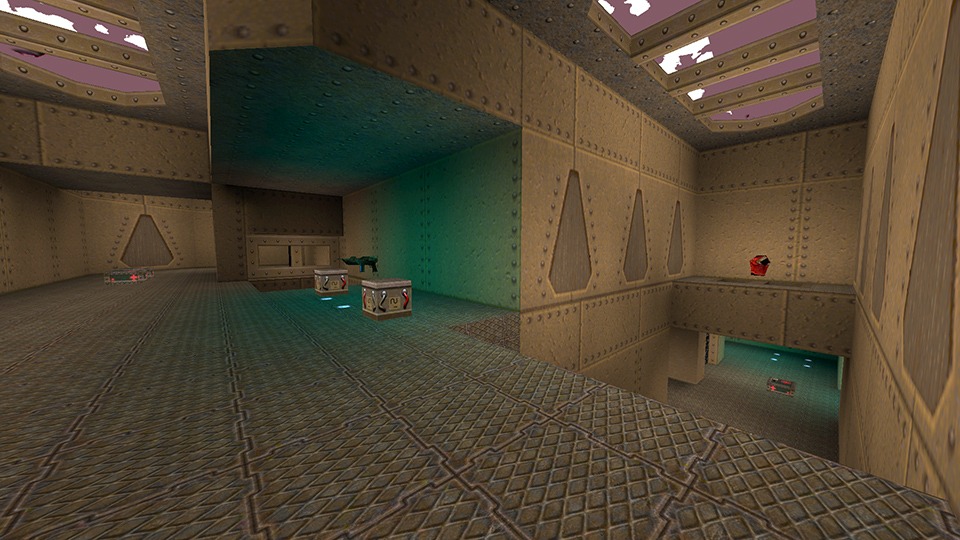
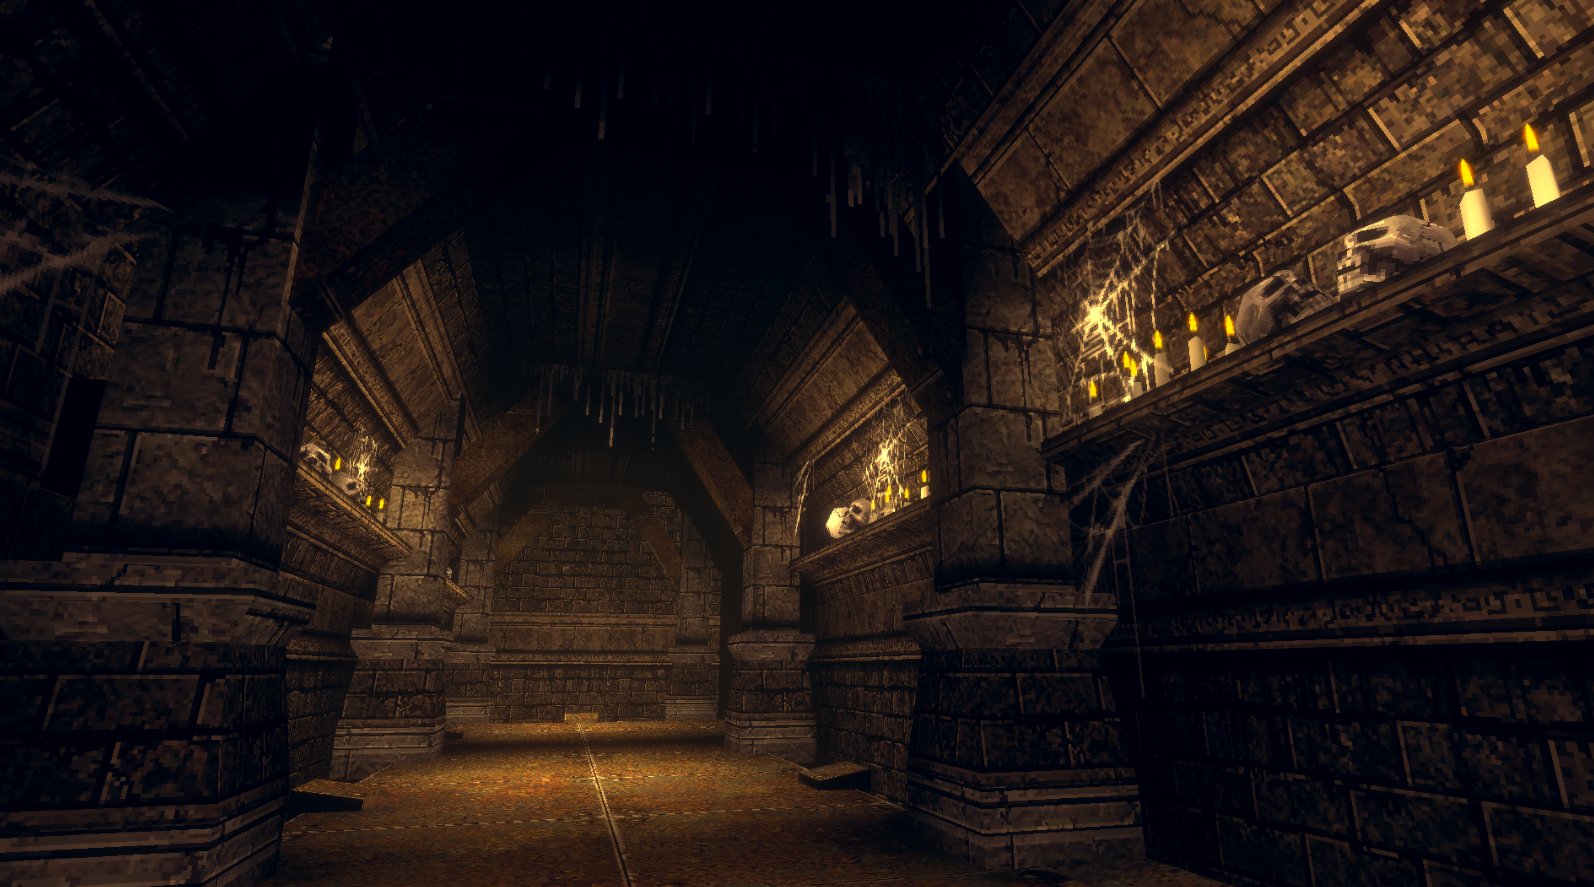
The gallery brings you interesting Quake screenshots, screengrabs, levelshots, level design examples, Quake maps, low-poly mapshots and other related images.
Old QuakeWiki Projects
This section contains old QuakeWiki projects, updates and releases. My last project was OpenQuartz 2 (former OpenQuartz), a Quake 1 GPL content engine (currently abandoned and source lost).

Top Rated
- Future vs. Fantasy
 (5.00 out of 5)
 - Aircraft (5.00 out of 5)
- Airquake (5.00 out of 5)
- 20mm (5.00 out of 5)
- Arcade Quake QE 2008 Demo (5.00 out of 5)
- Hunt or be Hunted (5.00 out of 5)
- Abyss of Pandemonium – The Final Mission (5.00 out of 5)
- Eternal War: Shadows of Light (5.00 out of 5)
- Quake – The Obsidian Edition (5.00 out of 5)
- Fantasy Quake – Rise of the Phoenix (5.00 out of 5)
Most Downloaded Files
- Alien Quake (56875 downloads )
- Custom HUD (55278 downloads )
- Your Path of Destruction: Doom TC (52113 downloads )
- PainKeep (52078 downloads )
- Future vs. Fantasy (49807 downloads )
- Navy Seals (47522 downloads )
- Doom 2 (45380 downloads )
- Valve Hammer Editor (41353 downloads )
- OpenQuartz 2 (39543 downloads )
- Abyss of Pandemonium - The Final Mission (35466 downloads )
■■
Latest Articles
This section contains general news, articles, discussions, tutorials and more.
-
Quake Screenshot Dump #3
-
NiN’s Asylum
This is a screenshot dump (again) of Grant Creasey’s maps. The PlanetQuake archive had no maps available for download.
-
LSDM17 – Octopus Revenge (Heavy-Modded Q3DM17)
No sources currently exist. This is a series of screenshots from an old LordSquart archive website.
-
Vondur
As part of the End of an Era cleanup, here’s some Vondur maps screenshots, in no particular order, salvaged from his old website. Note that you can find some of his old levels somewhere on this website.
-

Profile: Retro Interview: Paul Jaquays
In perhaps one of Fragmaster’s longest interviews, Jaquays talks about many topics from his background to his opinions on the gaming idustry. Jaquays recounts his lengthy background in the industry, talks about how he designs levels, and even lists the most significant events in gaming history. Fragmaster, a classic gaming connoisseur, even converses with Jaquays
-
Profile: Retro Interview: Tom Mustaine
Tom Mustaine, ritual level designer, just bounces off Fragmaster’s strangeness. Mustaine also tells an intriguing story about his life as a gamer and designer and talks a bit about his work and Scourge of Armagon. Andrew “Kolinahr” Wu By Fragmaster / PlanetQuake1997 An Interview with Tom “BSP P1mp, ParadoX” Mustaine Hi there. My name’s Tom
-
Profile: Retro Interview: Tom Hall
Gaming Nexus devotes equal space to Tom Hall’s upcoming Anachronox and Tom Hall’s brain. An ION Storm founder, Hall tells what made him decide to be a game developer and what he would be if he wasn’t doing what he’s doing now. He also lists many of his influences and discusses Rise of the Triad,
-
Profile: Retro Interview: Brian Hook
Radpipe converses with id software’s Brian Hook about his job and various technical issues. Hook talks in detail about id software and what it’s actually like to work there. Andrew “Kolinahr” Wu By Russell “Radpipe” Lauzon / PlanetQuake1998 Being the hardware point man for a gaming company is not an easy job, especially when that
-
Profile: Retro Interview: Eric Reuter
Sean Green knows what to ask Eric Reuter, level designer for Epic megagames. Reuter lists the projects he’s worked on before, and answers questions about what intrigued him about level design. Green also asks focused design questions that elicit long and well-written responses. Andrew “Kolinahr” Wu By Sean Green1998 Coffee With Eric Continuing our series
-
Profile: Retro Interview: Kevin Cloud
Kevin Cloud, artist, co-owner, and project manager at id, describes the biggest challenges he faced working on Quake II. Cloud discusses art skills with respect to the transition to Trinity. He also describes his texturing tools, the art team at id, and project management. Andrew “Kolinahr” Wu By Alex Dunne / Gamasutra / Game Developer MagazineJanuary
-
Profile: Retro Interview: Dave “Zoid” Kirsch
Dakota’s interview with Kirsch, “father of CTF” and QuakeWorld maintainer, covers a good variety of topics, but the excellently focused questions set this apart from other interviews. Andrew “Kolinahr” Wu By Darren “Dakota” Tabor / Captured.comMay 25, 1998 An Interview with David “Zoid” Kirsch The person most closely associated with the success of Capture the
-
Profile: Retro Interview: Steve Rescoe
ION Storm designer Steve Rescoe answers great questions from webmaster and mapper Matt Sefton. Rescoe discusses his past and his editing. He also expands on his design style and on the ingredients necessary for a great single player level. He also lists a his favourite levels, designers, and monsters. Andrew “Kolinahr” Wu By Matt Sefton
-
Profile: Retro Interview: John Carmack
Carmack actually reveals some information about his past and about id software. He also answers questions about his gaming habits and gives his opinion on key gaming issues. Carmack then discusses the design of Quake 2 and the “next generation”. Andrew “Kolinahr” Wu By Electric Play / Electric Play1997 John Carmack (of id Software) interview
-
Profile: Retro Interview: John Carmack & Brian Hook
In this interview, Carmack and Hook speak frankly about techie issues involving technologies and design. Even fun if you’re a non-geek. Andrew “Kolinahr” Wu By Alex St. John / bootnet Magazine1997 On the first day, id Software created Wolfenstein 3D– the debut first-person shooter to confront the issue of 3D on the PC. And it
-
Profile: Retro Interview: John Romero
A truly detailed epic profile of John Romero. In this extremely well-written profile, the profiler Copilevitz begins with an entertaining anecdote about a twelve year old Pac-Man-playing Romero. Copilevitz interviews Romero’s relatives who reveal various facets of Romero’s life as a young man. The profile details what Romero was like in elementary school and continues
-
Q1K3: A JavaScript Homage to Quake in Just 13KB
Here is a very popular entrant to the latest JS13KGames contest that ended this week. This Quake clone is amazing given the JavaScript limitations, and takes me right back to 1996 when I installed it off a magazine cover disc (when the demo even then was 10 megabytes). The game comes from Dominic Szablewski (@phoboslab)
-
Quake (2021 Enhanced Re-Release Version)
Quake gets enhanced re-release for modern platforms for 25th anniversary As Quake celebrates its 25th anniversary, it’s getting an enhanced re-release which will be available for modern platforms. With the legendary franchise already spanning 25 years, it’s time to experience the multiplayer glory once more. There’s a lot to like about the re-release, which is
-
Auhsan
Another blast from the past, this time Auhsan. Here’s an old selection of screenshots from circa 2000. How I am? my name is Toni “Auhsan” Jaume, I’m from Mallorca (an isle of Spain). and I’m an quake fanatic. That’s my adiction. I’ve started with Doom years ago killing imps with my shotgun. I love maps.
-
David Bülow-Osborne
I dug up some old screenshots from an old PlanetQuake site, by Dave Bülow. Quake 1: Temple of Osiris Quake 1: DBDM9Q1 Quake 2: DBODM5
-
End of an Era
Well, another era. It’s been a while since I contributed to QuakeWiki and I feel I abandoned it. But it’s not abandoned. It’s just there, in a corner, on the top shelf. Or the bottom shelf. I haven’t put it in a box yet. I won’t put it in a box, as Quake has always
-
Aerowalk: Blast From the Past
Created and released by Preacher in February 21, 1998, Aerowalk is a very popular map — notably in Russia. Due to its wide popularity, it has been ported to many other games. Aerowalk was created using the WorldCraft editor. Medium sized level especially made for furious 1on1 play =) — Preacher Title Filename Author Released Reviewer Aerowalk aerowalk.bsp Preacher 21 Feb
-

Fresh QuakeWiki Logo 2020
I’ve had this logo for a long time, I can’t even remember when I made it. More than 10 years ago, for sure. With the latest WordPress updates, I needed a coat of fresh paint, and that happened last year. I still needed a transparent logo and a responsive site, so the first part is
-
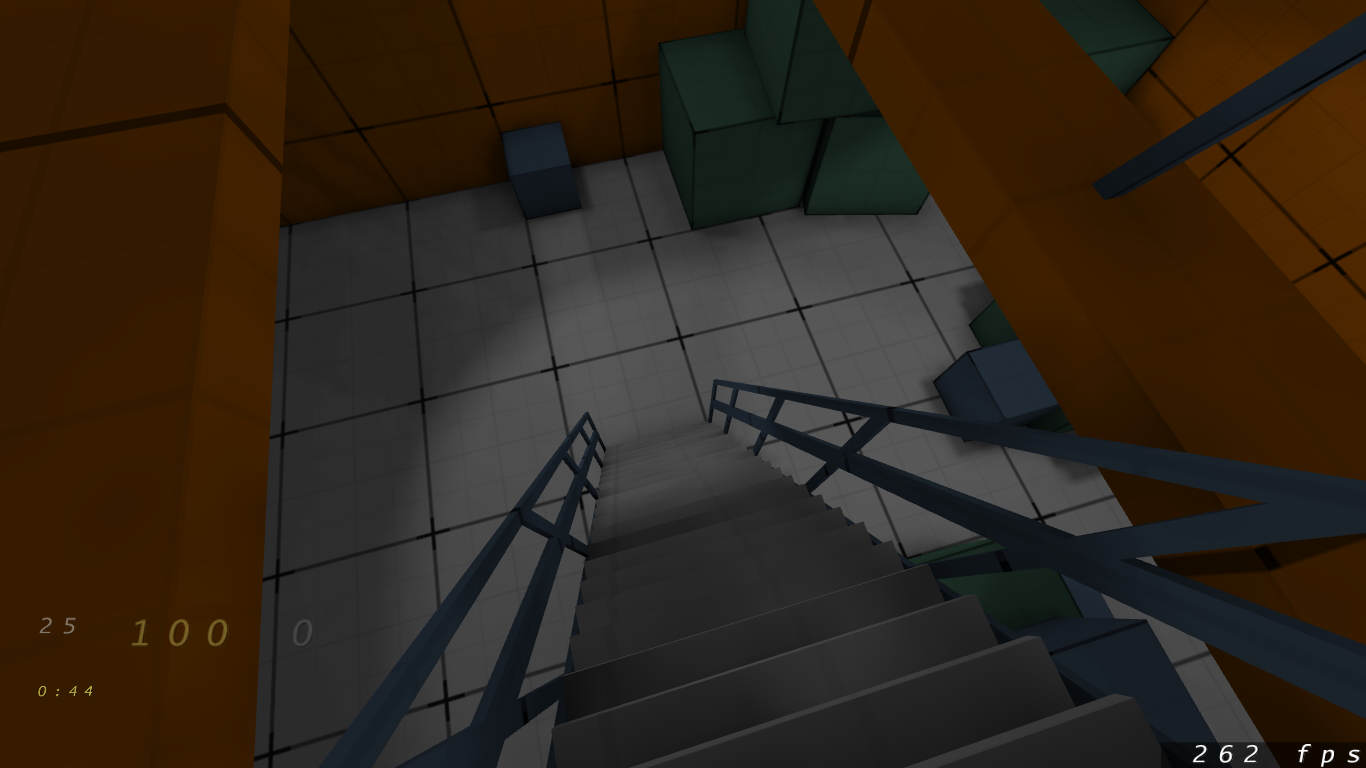
Hell Hunt
Hell Hunt is a retro First Person Shooter built using Unity. It looks almost identical to Quake and it could have been built 100% using Quake tools and a modern engine such as FTE or Darkplaces. I noticed lots of sprites, such as grates, drips, spider webs and even blood spatter, which add to the
-
Mapping Progress #1
I’m approaching 40 and midlife crisis translates into level design for me. Apparently. So, I dusted off the cobwebs and reinstalled QuArK. I’m using Fitzquake 0.85 (and Quakespasm interchangeably) and ericw-tools for map compiling. Don’t know if it’s good or bad. I’m trying to go for a bit of ambient occlusion, dirtmapping and nice shadows.